Doshii will do all of the initial set up of your Uber Eats menu, however we know that things change and you will want to add or modify the items on your menu. Doshii has a Menu Management tool that gives you the control to edit and publish your menu to Uber Eats when you want to.
To be able to make changes to the Uber Eats menu, you will need to be set up as a user with a particular set of permissions. If you are unable to view some of the icons and features shown in this document, please contact us by replying to the email you have received, or create a ticket.
In this article:
To Modify Items / Remove Items / Add Photos
To Publish your Uber Eats menu
To View Your Menu
Open an internet browser and navigate to: https://dashboard.doshii.io
Log into your account, using the same credentials as when you signed up to Doshii.
On the left hand menu, click on Organisation - your venue(s) will show underneath.
Click on the name of the venue you wish to view the menu for - you will see two options below the venue name: Health and Menu.
Click on Menu
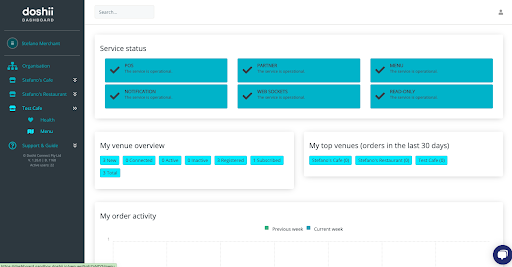
You will now enter the menu view for your selected venue. By default, you will always see the POS menu first, but you can easily toggle between your POS data and your Uber Eats menu by simply clicking either label.
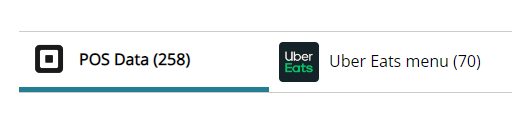
When looking at the POS Data view, you can easily identify items that have been added to your Uber Eats menu by looking at the Apps column. You can also see how many items are in your POS by the number next to the Products label. In our example below, there are 258 items in the POS.
If you are wanting to add new items to your Uber Eats menu, this is where you would start.
To view your Uber Eats menu, you simply click the Uber Eats menu label at the top of the screen.

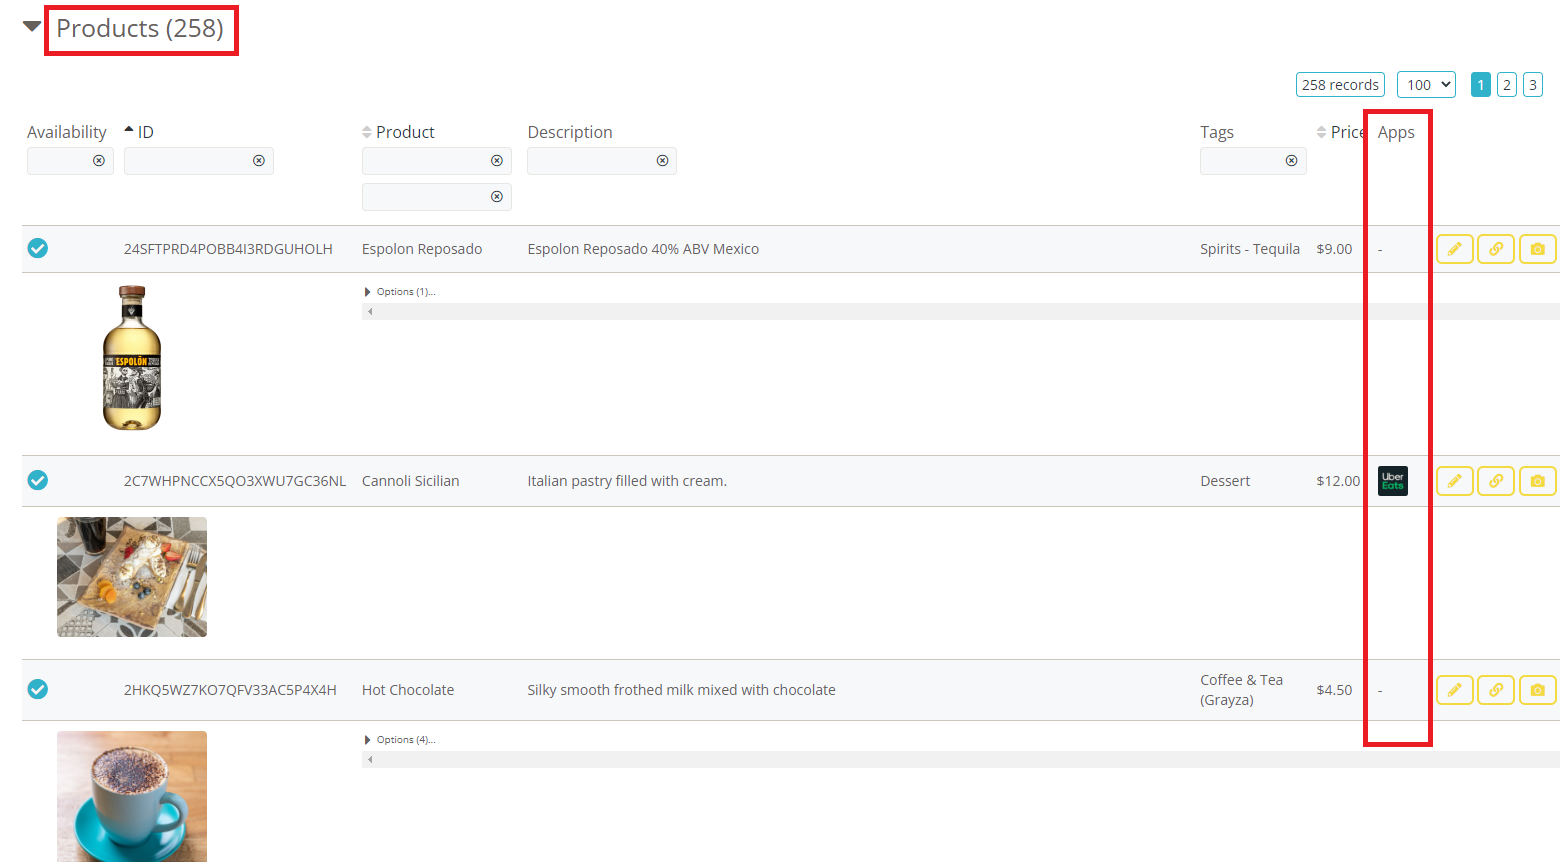
You will now only see those items that are linked to your Uber Eats menu. You can see how many items are linked by the number next to the Products label. In our example below, this is 69 items.
If you are wanting to modify or remove items from your Uber Eats menu, this is where you would start.
To Add New Items
To add new items to your Uber Eats menu, you will need to start from the POS Data menu.
Scroll down to the Products section. These are all the items on your POS that can be linked to Uber Eats. Use the search fields to find the item you want to link to your menu. On the right of each item, there is a yellow Link item icon.

To add the item to your Uber Eats menu, click the Link Item icon.
A popup will appear:
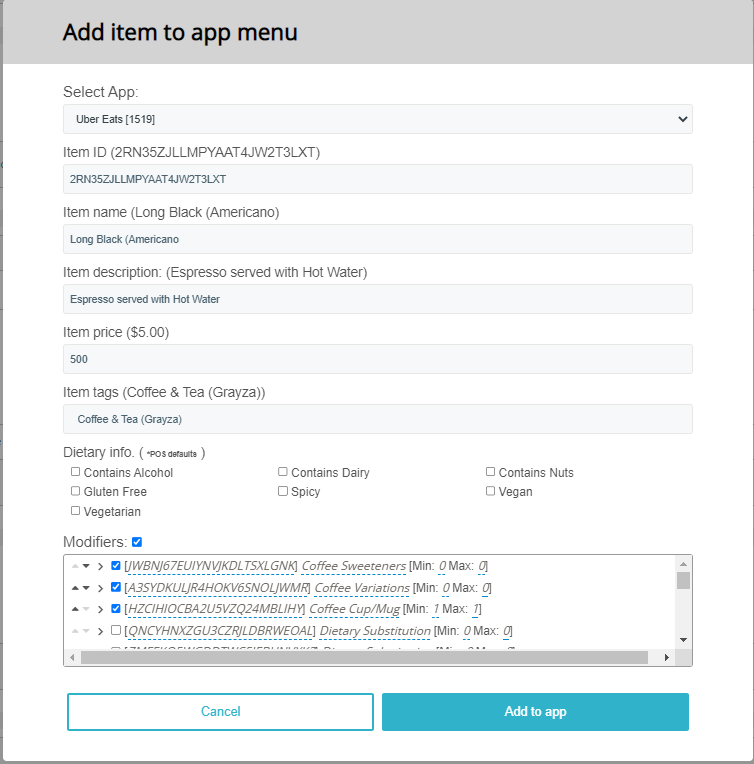
From the top:
- Select which app you want to link the item to (Uber Eats will auto-select)
- You can edit the name and description if desired. This can make your online menu more customer friendly
- You can edit the price (price is displayed in cents)
- Create a tag for your item (these will help you organise the categories for your Uber Eats menu)
- Check and modify the item options that will be linked to that item. You can select all or some of the options and all or some of the variants inside each option. You can also edit the name of the option, the name of the variants, the price of the variants and the Min and Max choices your customers can have.
For example:- Min 0 Max 0 allows a customer to select all or none, or any number in between
- Min 1 Max 1 is a compulsory choice of 1
- Min 0 Max 3 means the option is not compulsory. but it is limited to 3 choices
When you have finished editing the item, click Add to App
You will now see the Uber Eats icon in the App column and if you switch to the Uber Eats menu view, it will be included in the list of products.
After you have made all your menu updates, for your item to be visible on Uber Eats, you will need to:
- Add any new item to a category
- Ensure that you publish your Uber Eats menu so the changes take effect
To Modify Items / Remove Items / Add Photos
To modify or remove items already on your Uber Eats menu, start at the Uber Eats menu view.
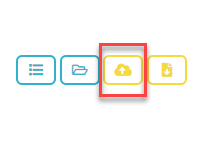
For each item under Products, there are icons to the right giving options to:
- Update linked item
- Unlink item
- Upload image.
![]()
To update an item on your Uber Eats menu
To update an item on your Uber Eats menu (change name, description, price, tag, options) click on the Update linked item icon. The same popup as when you link an item will appear and you can edit any of the fields before clicking Update item.
For any item update(s) to appear in your Uber Eats store, you need to publish your Uber Eats menu.
To remove an item from your Uber Eats menu
To remove (or unlink) an item on your Uber Eats menu, find the item you want to remove and click Unlink item.
For any item(s) to be removed from your Uber Eats store, you need to publish your Uber Eats menu.
To add a photo or update a photo for an item on your Uber Eats menu
To upload a photo for an item on your Uber Eats menu, locate the item and then click Upload image. Follow the prompts to select the location and image that you want to use.
To update a photo for an item on your Uber Eats menu, follow the above process - the new image selected will replace the previous image.
Note: Images must meet the following requirements to be added to your Uber Eats menu. If the image does not meet these requirements, it will appear in Doshii Dashboard, but not in your Uber Eats store.
- File size < 25MB
- JPG or PNG format
- 320px ≤ Width ≤ 6000px
- 320px ≤ Height ≤ 6000px
For any image(s) added or changed to appear in your Uber Eats store, you need to publish your Uber Eats menu.
Categories
To Create and Edit Categories
Uber Eats requires you to assign all items in your Uber Eats menu to categories. If you have edited the item tags when linking your items, this is a simple and straightforward process. Doshii will have created your initial categories when they built your menu, so you will only need to create new categories, move items around or add items to categories.
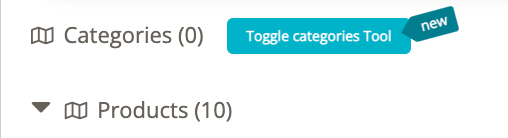
Click the Toggle categories Tool to open the Categories section of your menu
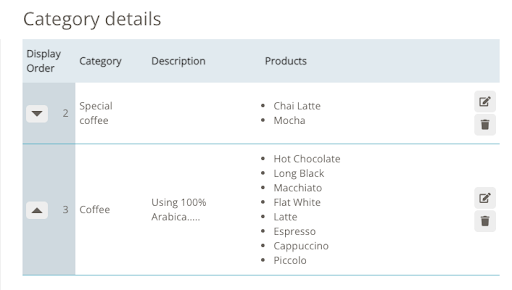
The categories will display on the right side of the screen - from here you can change the display order of the categories by clicking the arrows on the left.
To edit the name of the category, the description, or the order of the items in each category, click the edit button on the right.
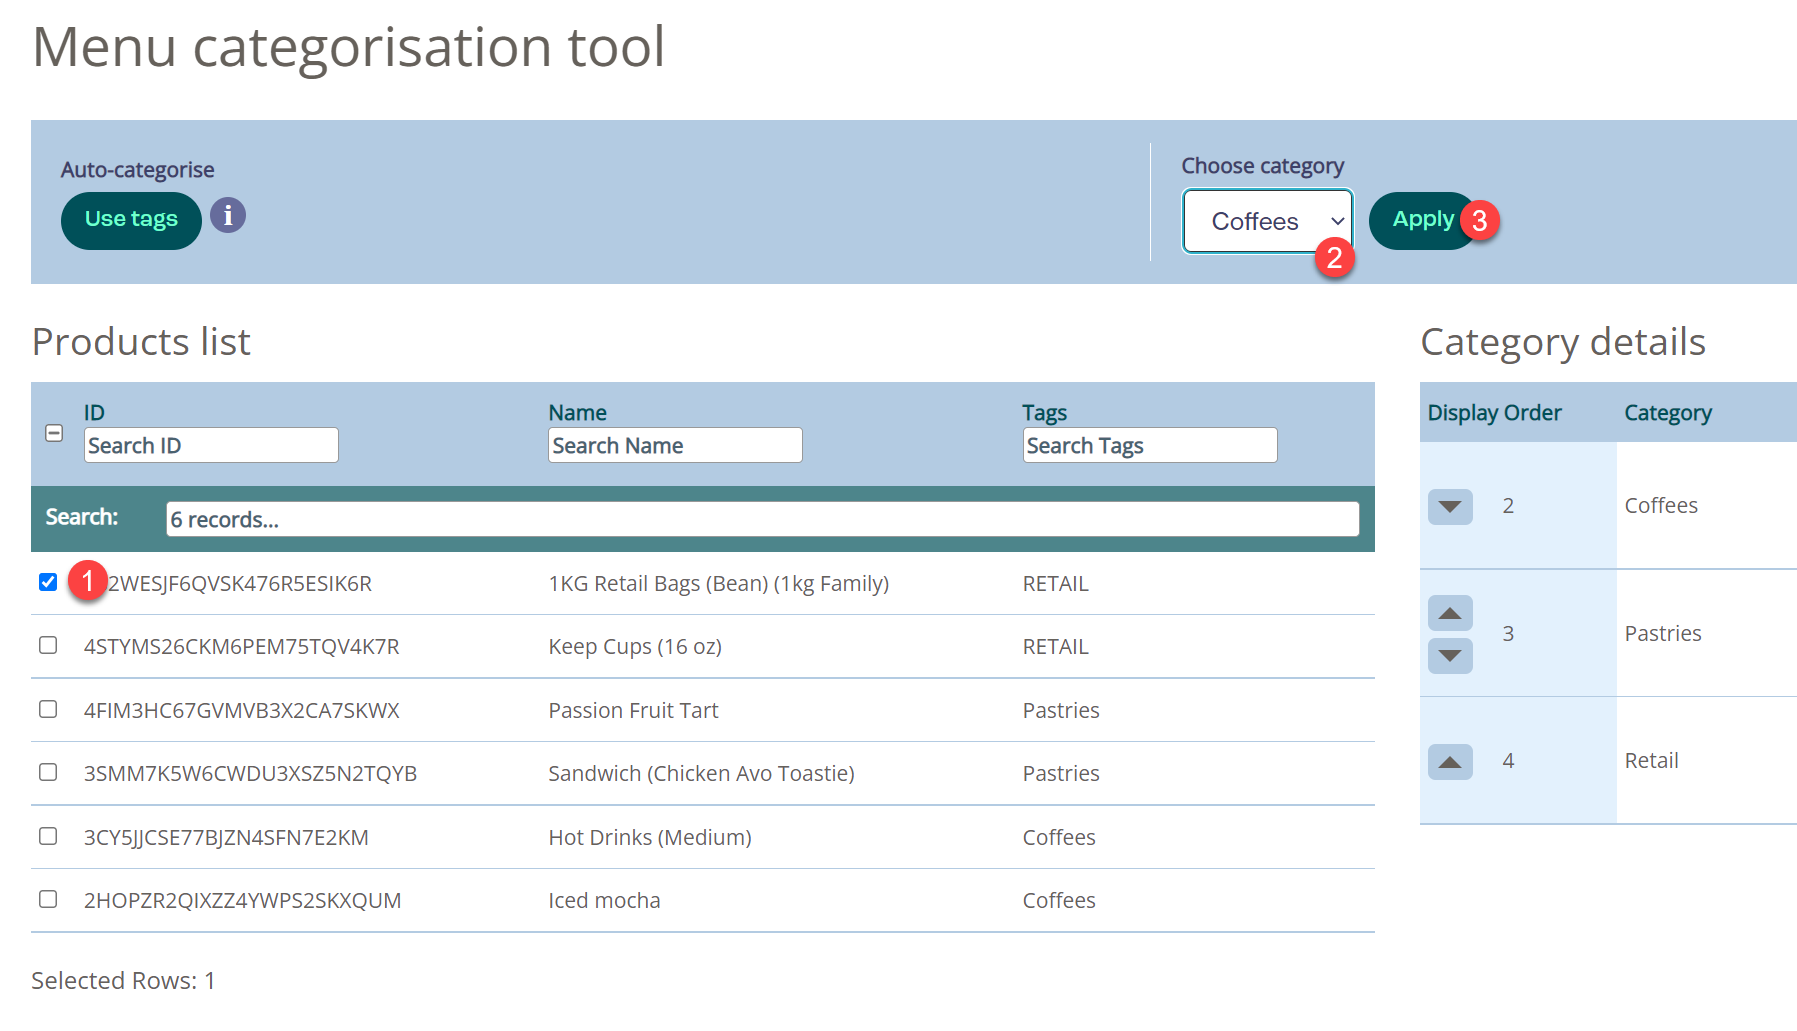
If you want to change or add a category for just one (or a few) items, this is easy.
- Find the item(s) you want to edit in the left hand side of the screen and click it's checkbox. You can use the search fields of ID, Name and Tags to easily locate the item you want. You can have multiple items checked if required.
- Click the Choose Category drop list to select the correct category.
- Click Apply
Note: All items must be in a category to appear on your Uber Eats store. It is important to remember this when you are adding new items at a later date.
Operating Hours
You must set your operating hours in Doshii. This is how the Uber Eats integration works by default. To set your operating hours, follow this help guide.
If you wish to have your operating hours set in a different way, please contact Uber Eats Customer Support and they will be able to configure this for you.
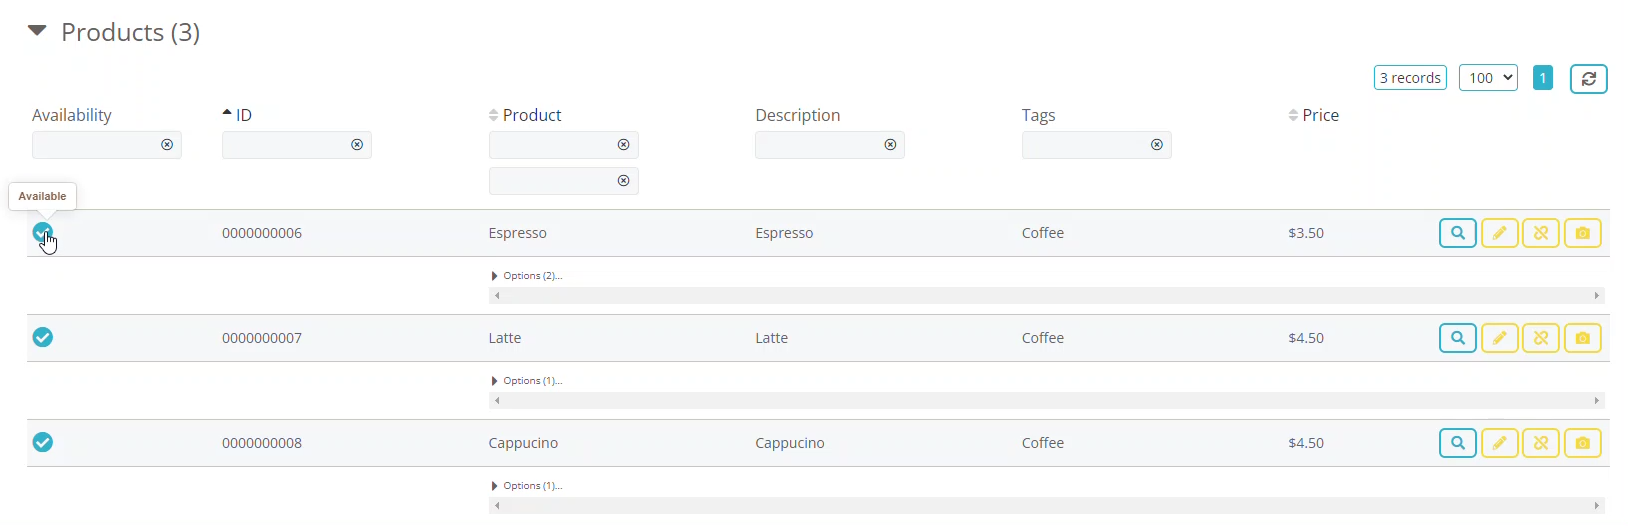
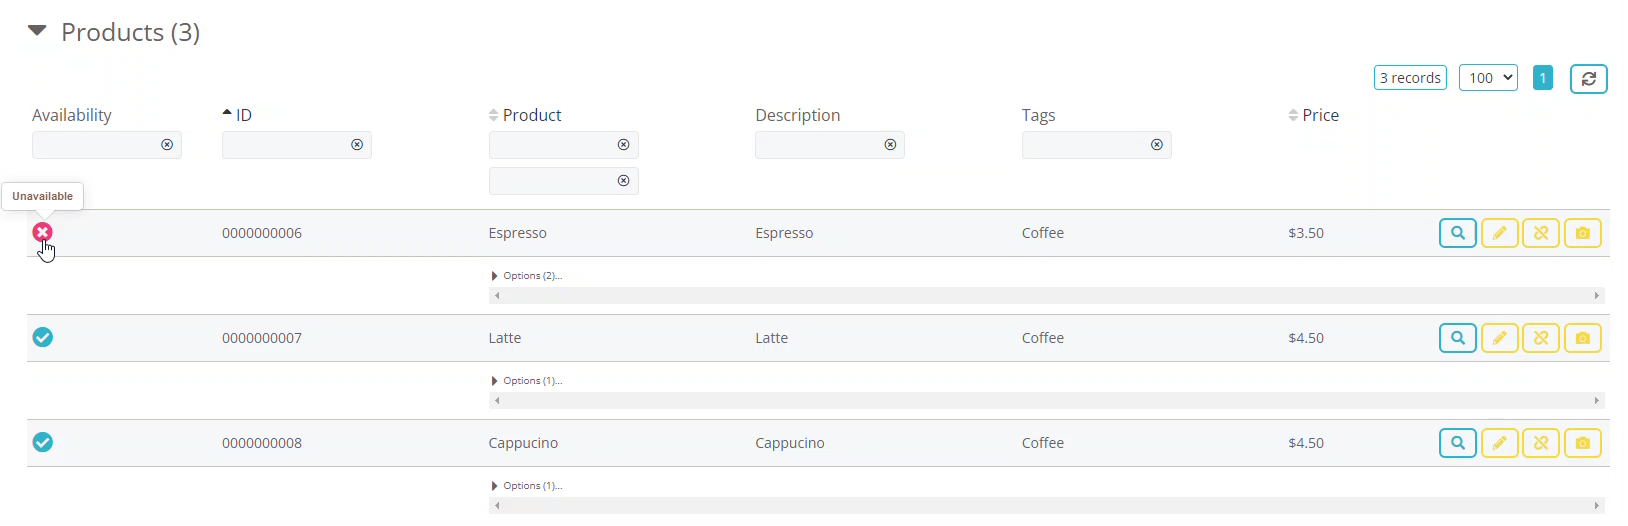
Availability
It is easy to set availability in your Uber Eats menu. Simply navigate to your Uber Eats menu in Doshii Dashboard and click the availability icon to toggle an item between available and unavailable. An item will remain unavailable for 7 days and then will automatically become available again.
For more information on how to manage your availability with Doshii, see this helpful article.
To Publish your Uber Eats menu
To publish your Uber Eats menu, you need to push your menu to Uber Eats! This needs to be done every time you have finished making changes to your Uber Eats menu - whether that is updating just one item name, changing prices, adding a new item or overhauling your entire menu. Once you have finished making all your changes, click the Push Uber Eats Menu icon at the top right of the screen in your Uber Eats menu view and you're done.
Your updates will be visible in your online Uber Eats store menu within minutes.
Additional Notes
If you get stuck along the way, do not hesitate to reach out to the Doshii Customer Success Team - we're here to help. We can walk you through the process, give you advice, help you configure tricky menu items and set up an online training session to ensure you're confident with our Menu Management tool. If you need help at any stage, please reply to the email you have received, or get in touch.