ImposPLUS submits menu changes to Doshii in realtime. In the event you notice that an item or modifier does not exist in Doshii, or is outdated, you can additionally perform a complete reload of the menu from Impos. This article explains how to do this.
How do I perform a menu synchronisation from Impos to Doshii?
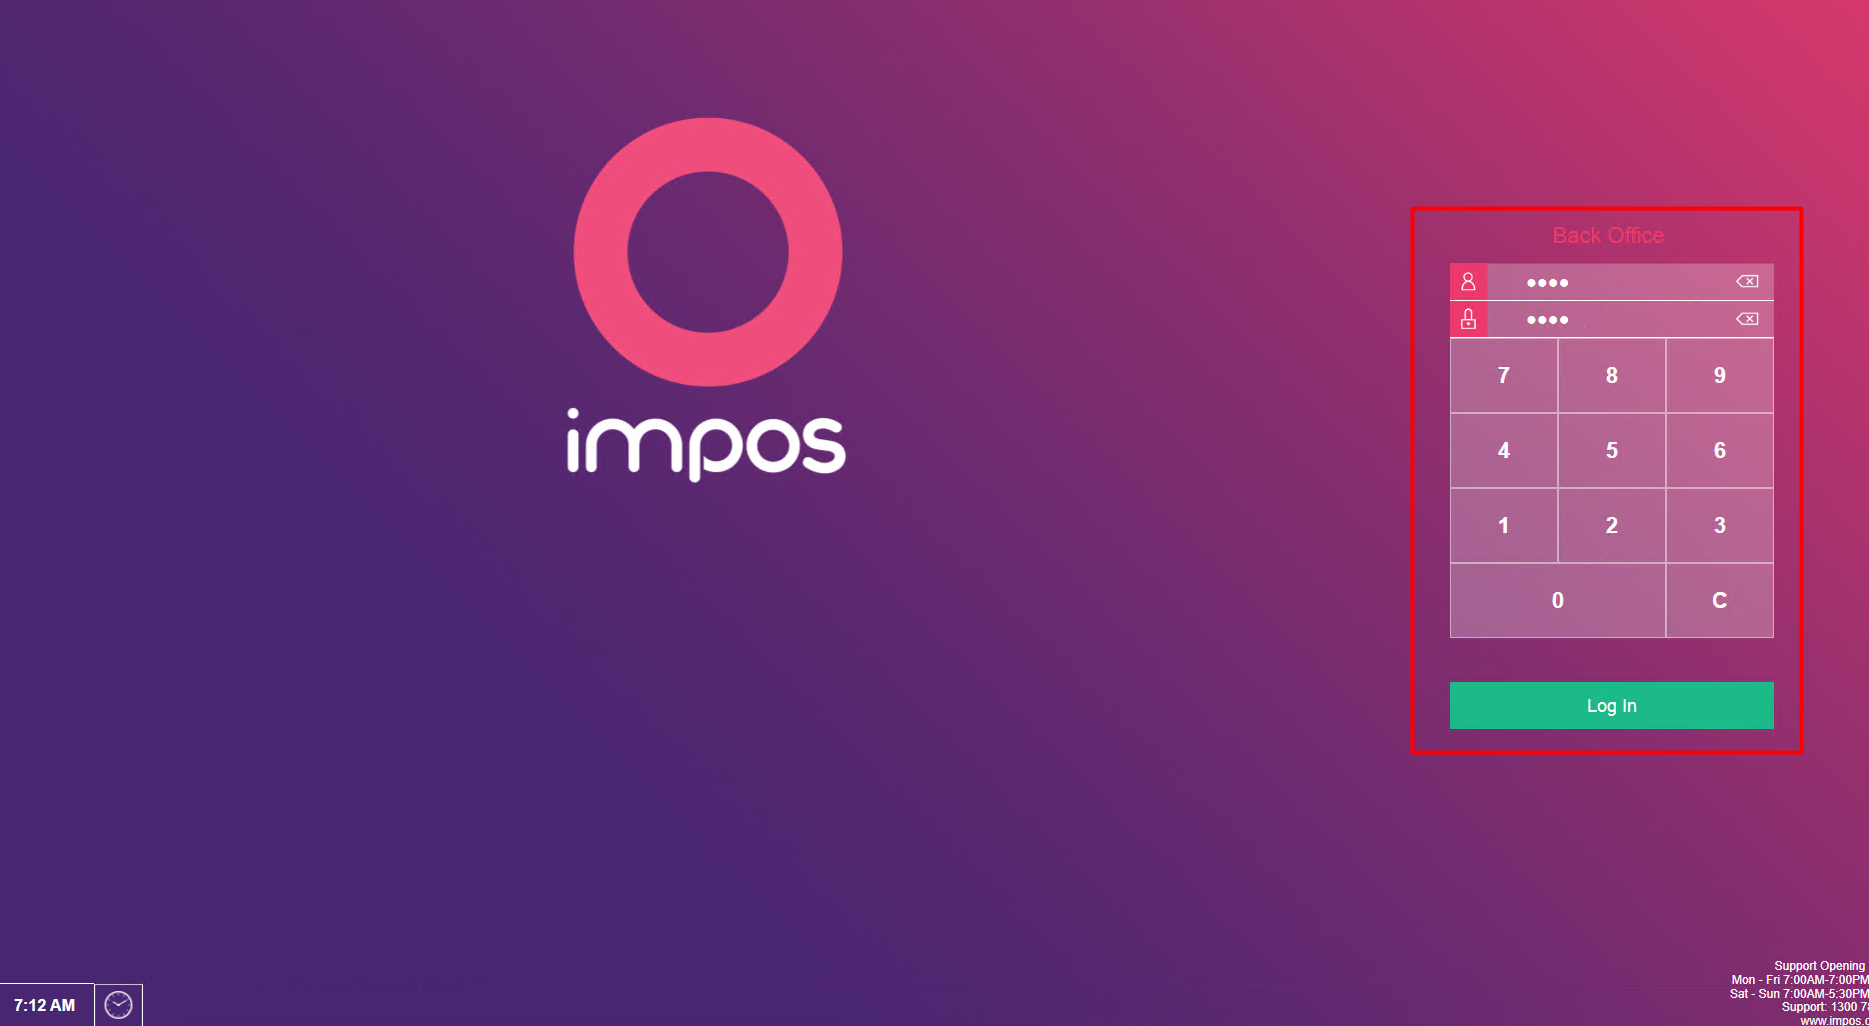
1. Login to your Impos BackOffice.
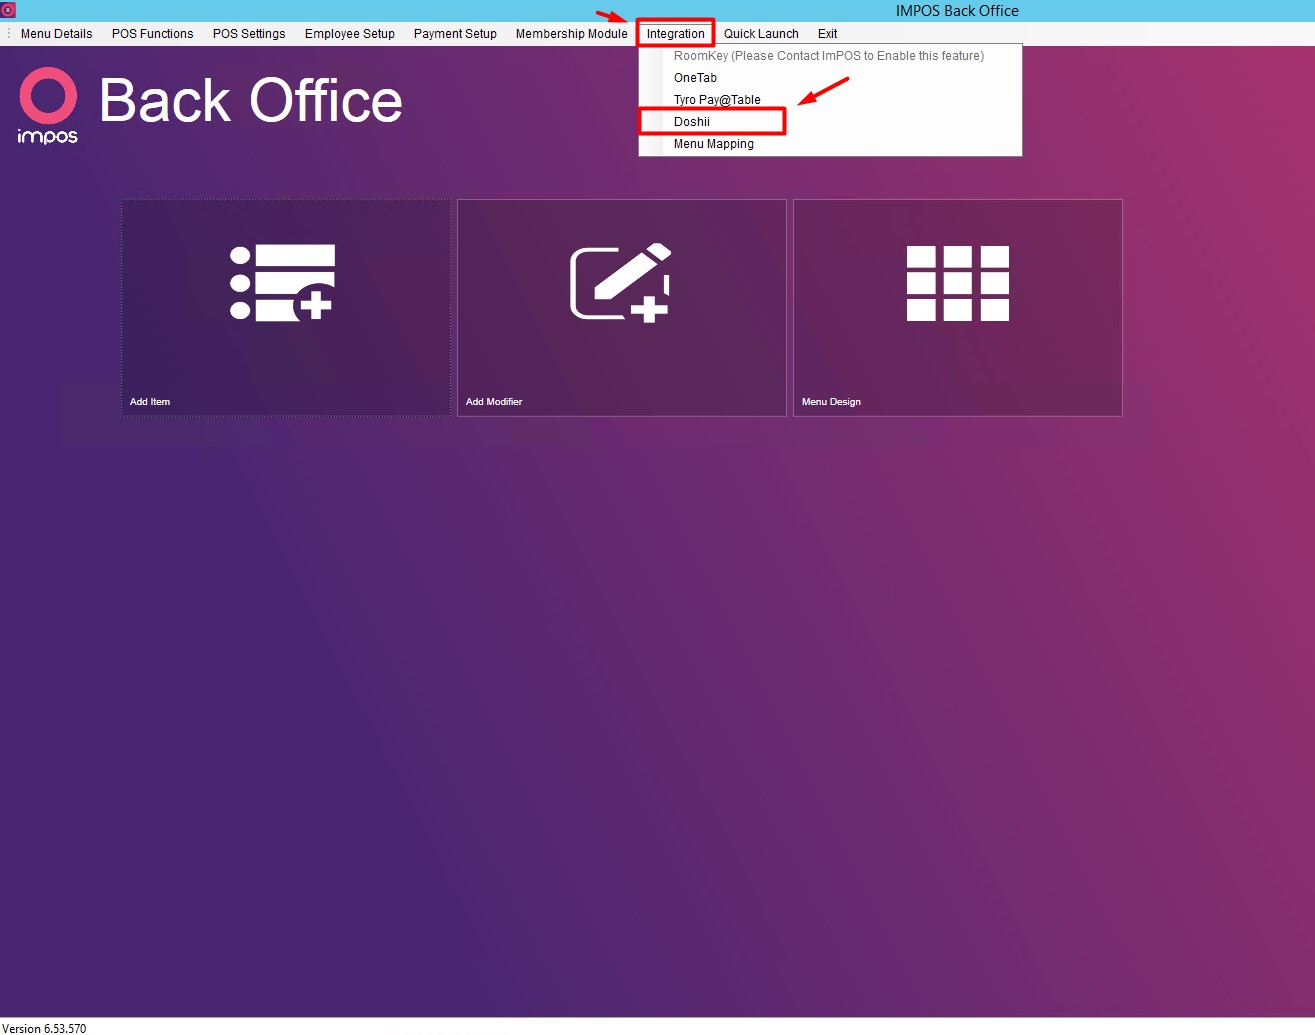
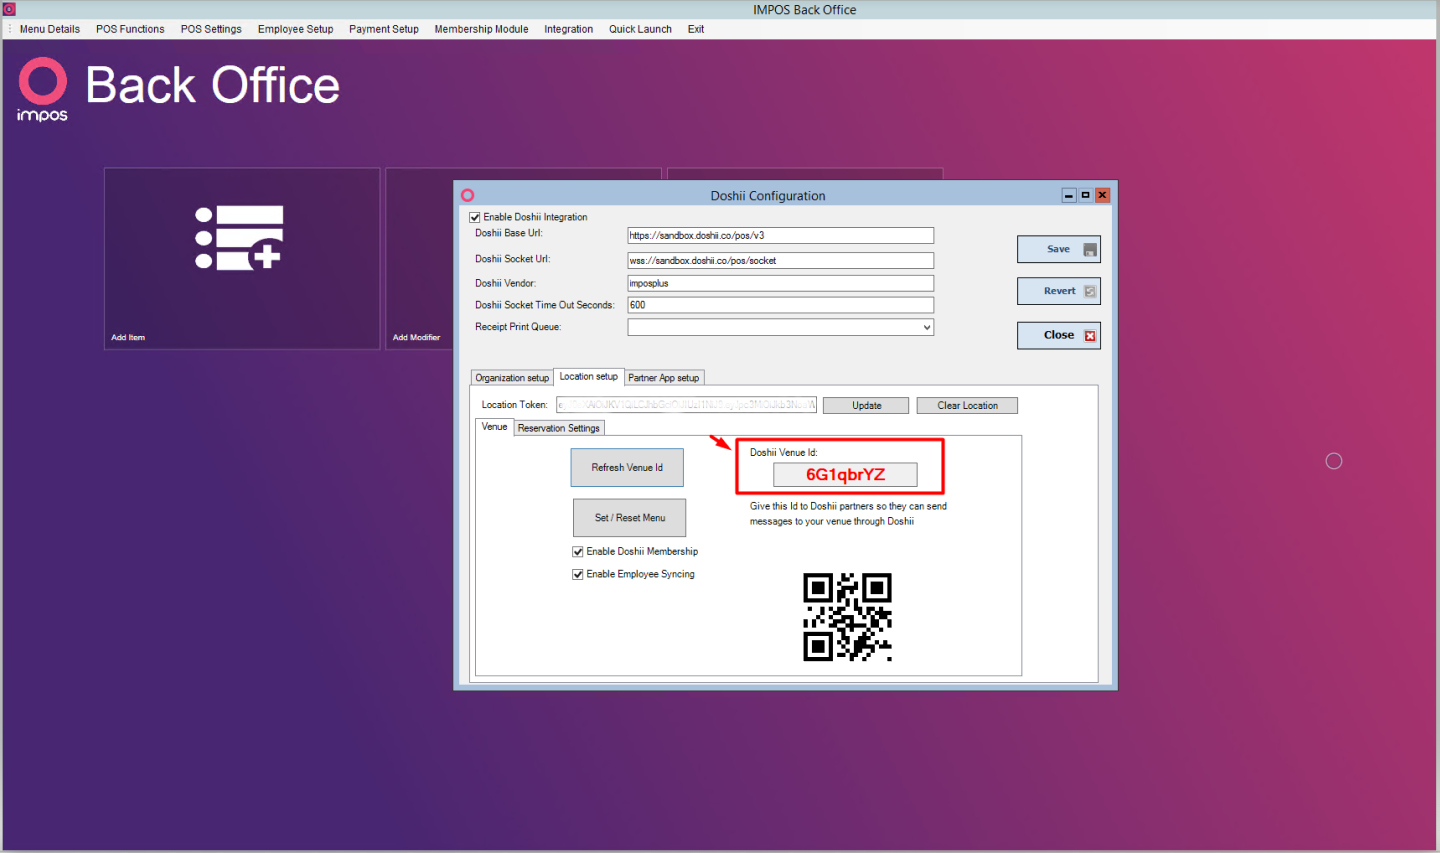
2. Under the Integrations menu section, select Doshii to open Doshii Configuration window.
3. Select the Location setup tab. Press the Refresh Venue Id button. The Doshii Venue Id will appear.
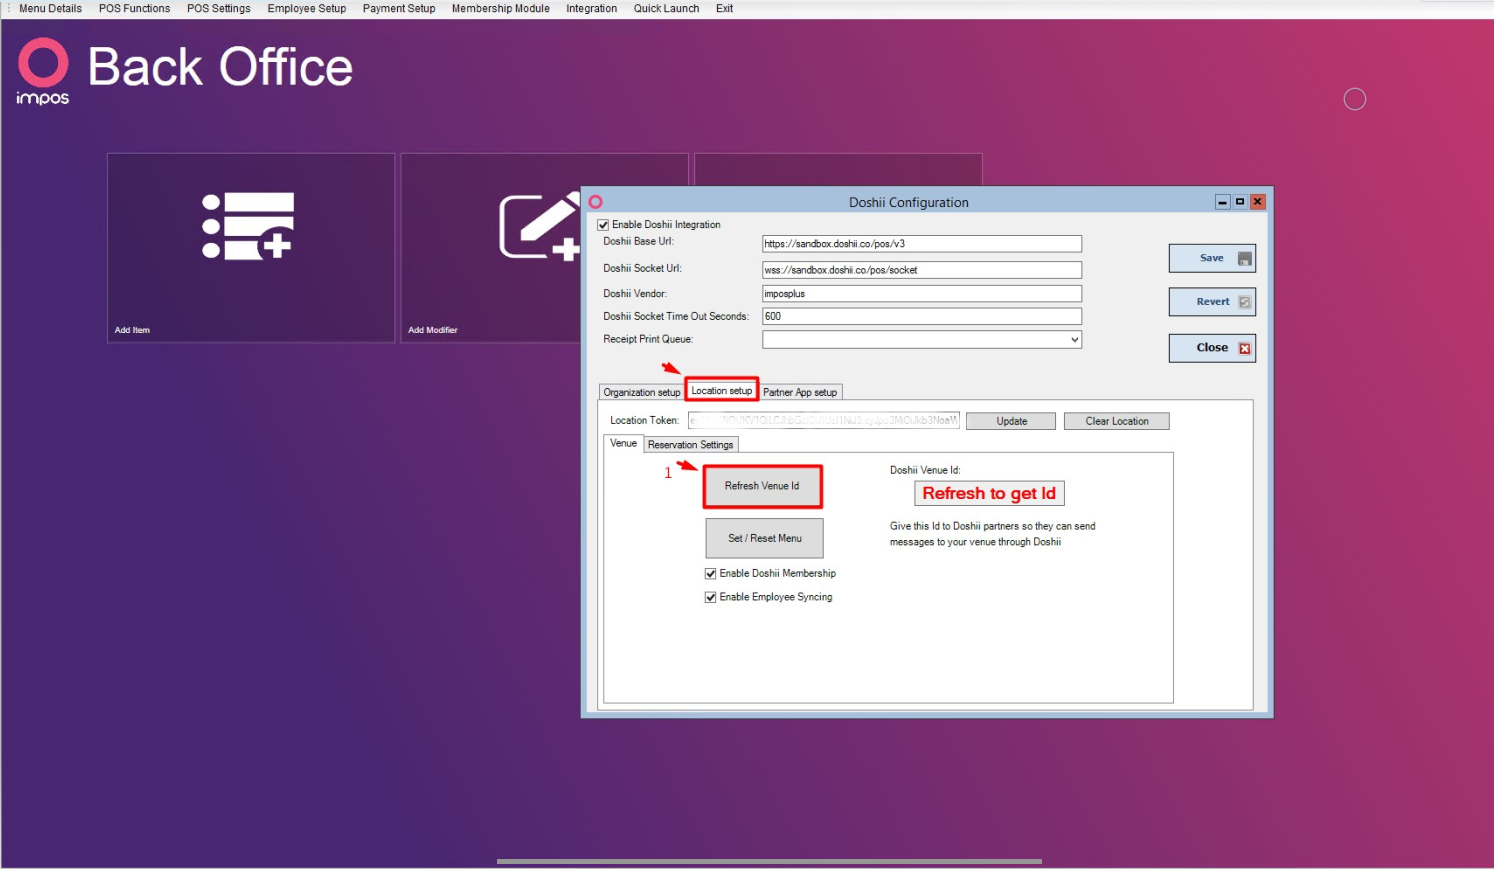
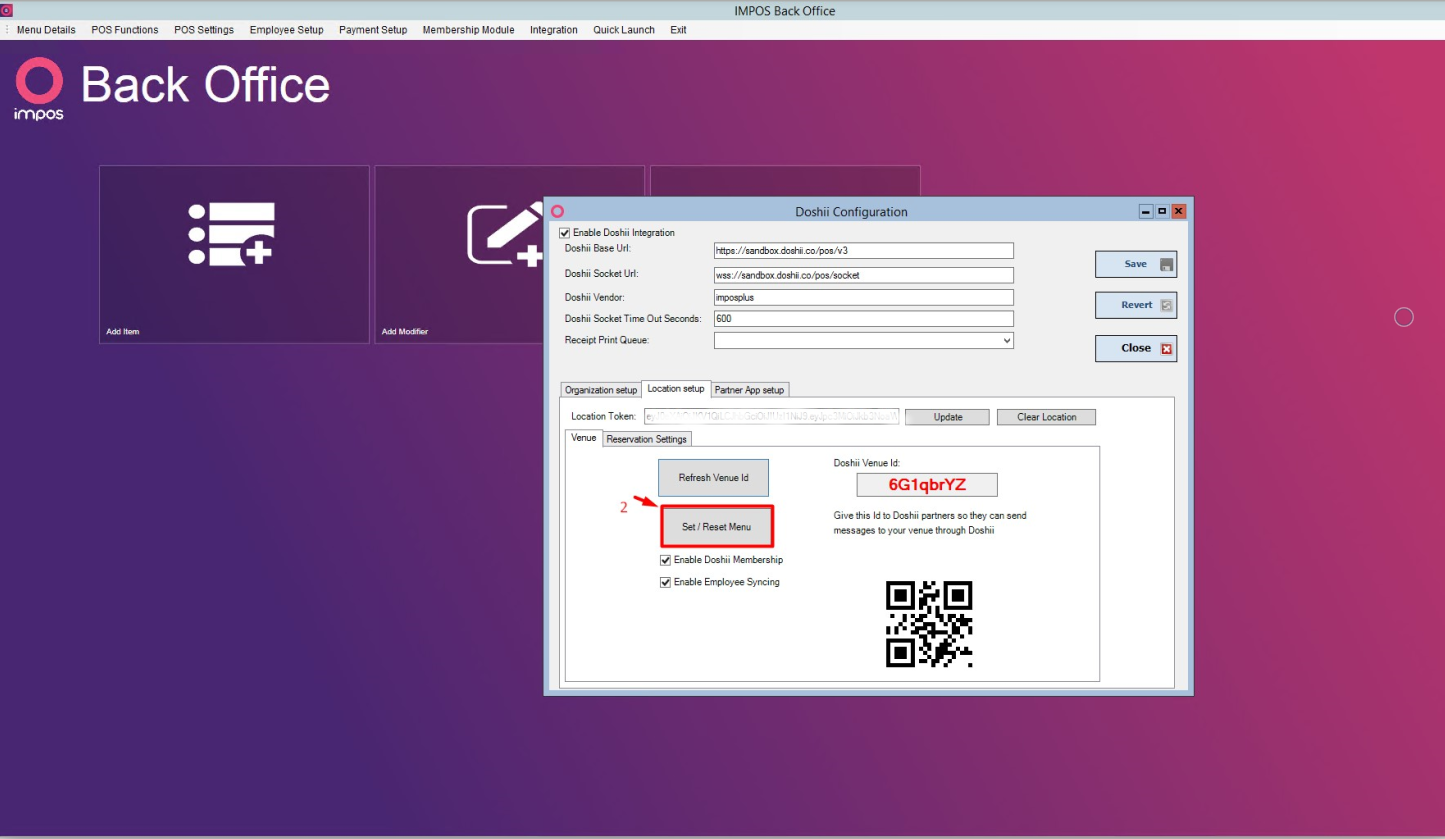
4. Now, click on the Set/ Reset Menu button.
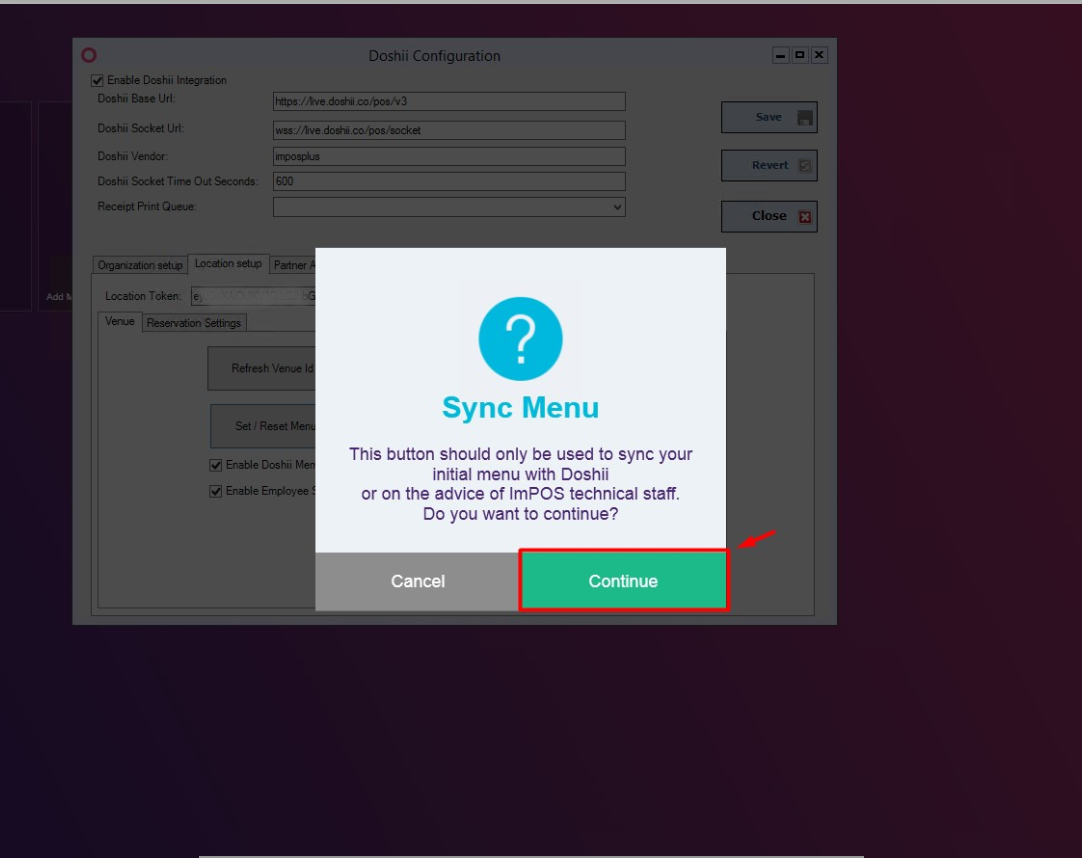
5. Select Continue on the confirmation popup.
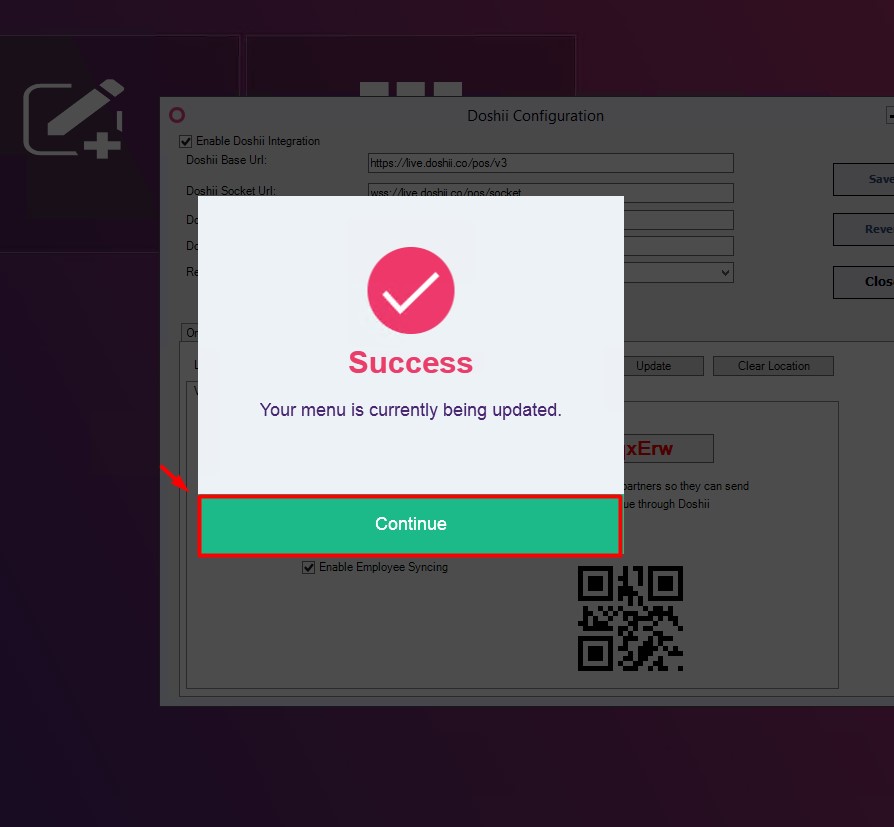
6. Once the menu synchronisation has been completed you will be presented with the Success popup.
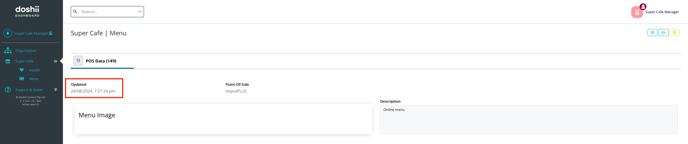
7. You can check that the menu synchronisation has occurred by checking the Doshii Dashboard, and the last updated date for your venue's menu.