Doshii has introduced a new feature to the filtered menus called Menu Categories. Menu categories will allow merchants and apps to categorise products in their menu as well as rearrange the order of categories, products and options easily.
This guide will take you through the following points on how to get started using categories.
1. Register for menu webhooks
To receive updates made to the menu categories and items, check you are registered to the following webhooks:
app_menu_updated
app_menu_category_updated
app_menu_item_updated
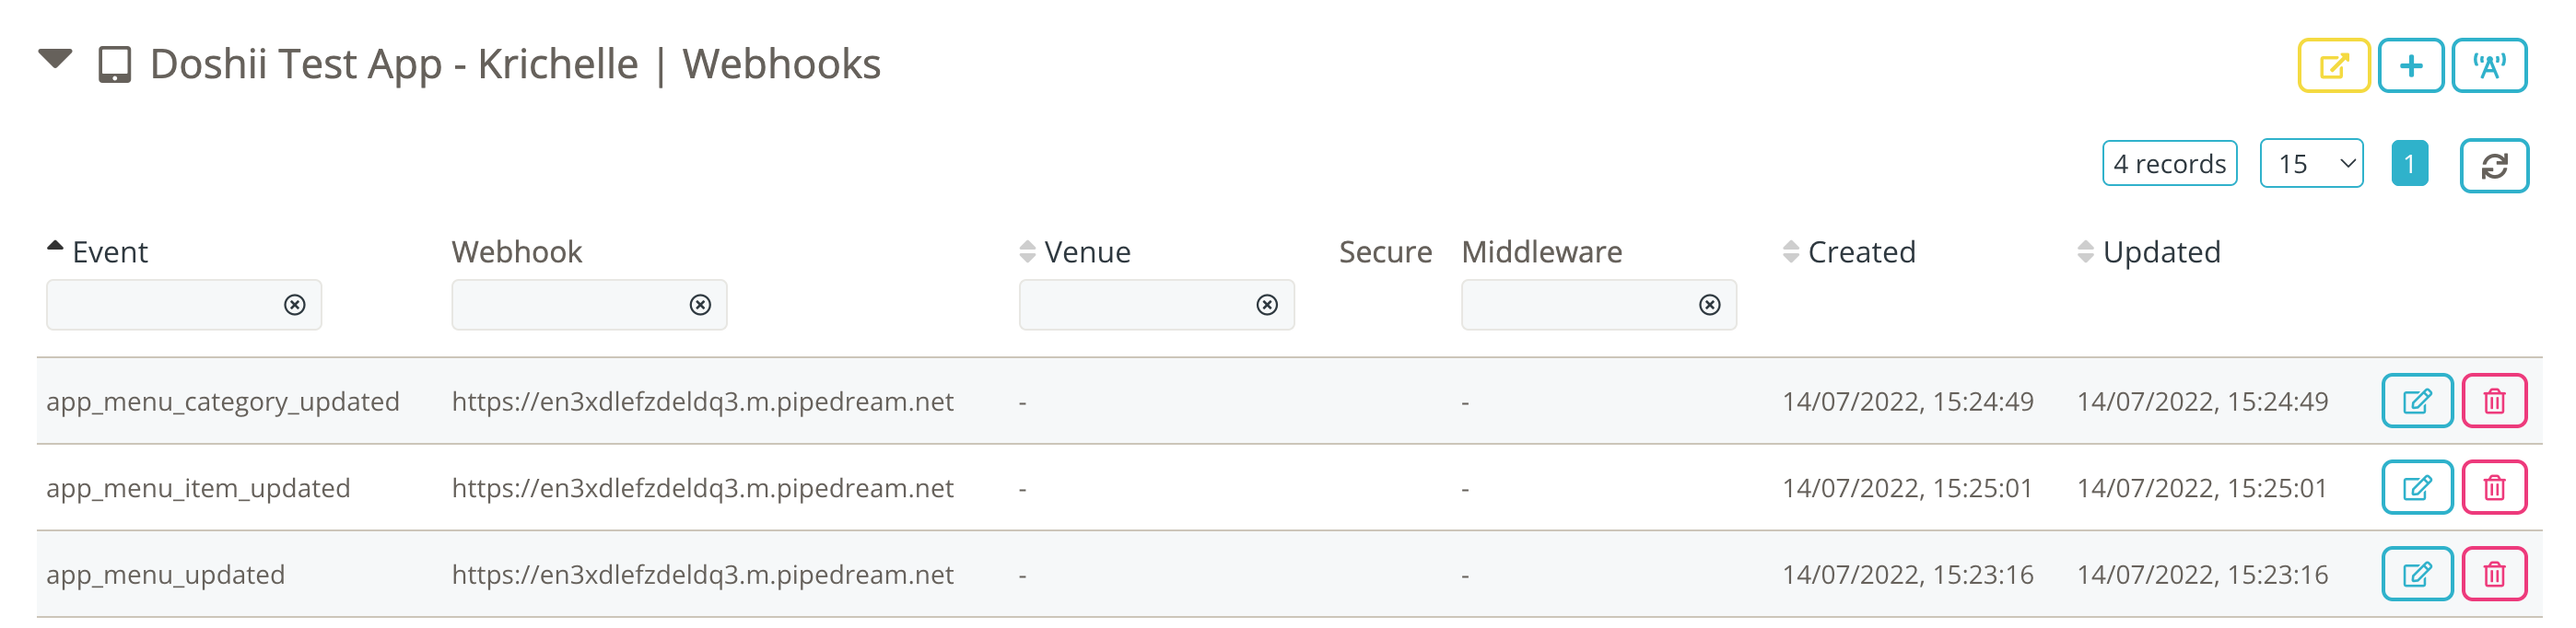
For more information on events go to this page of the Doshii support guide.
2. Link menu items to an app in the dashboard
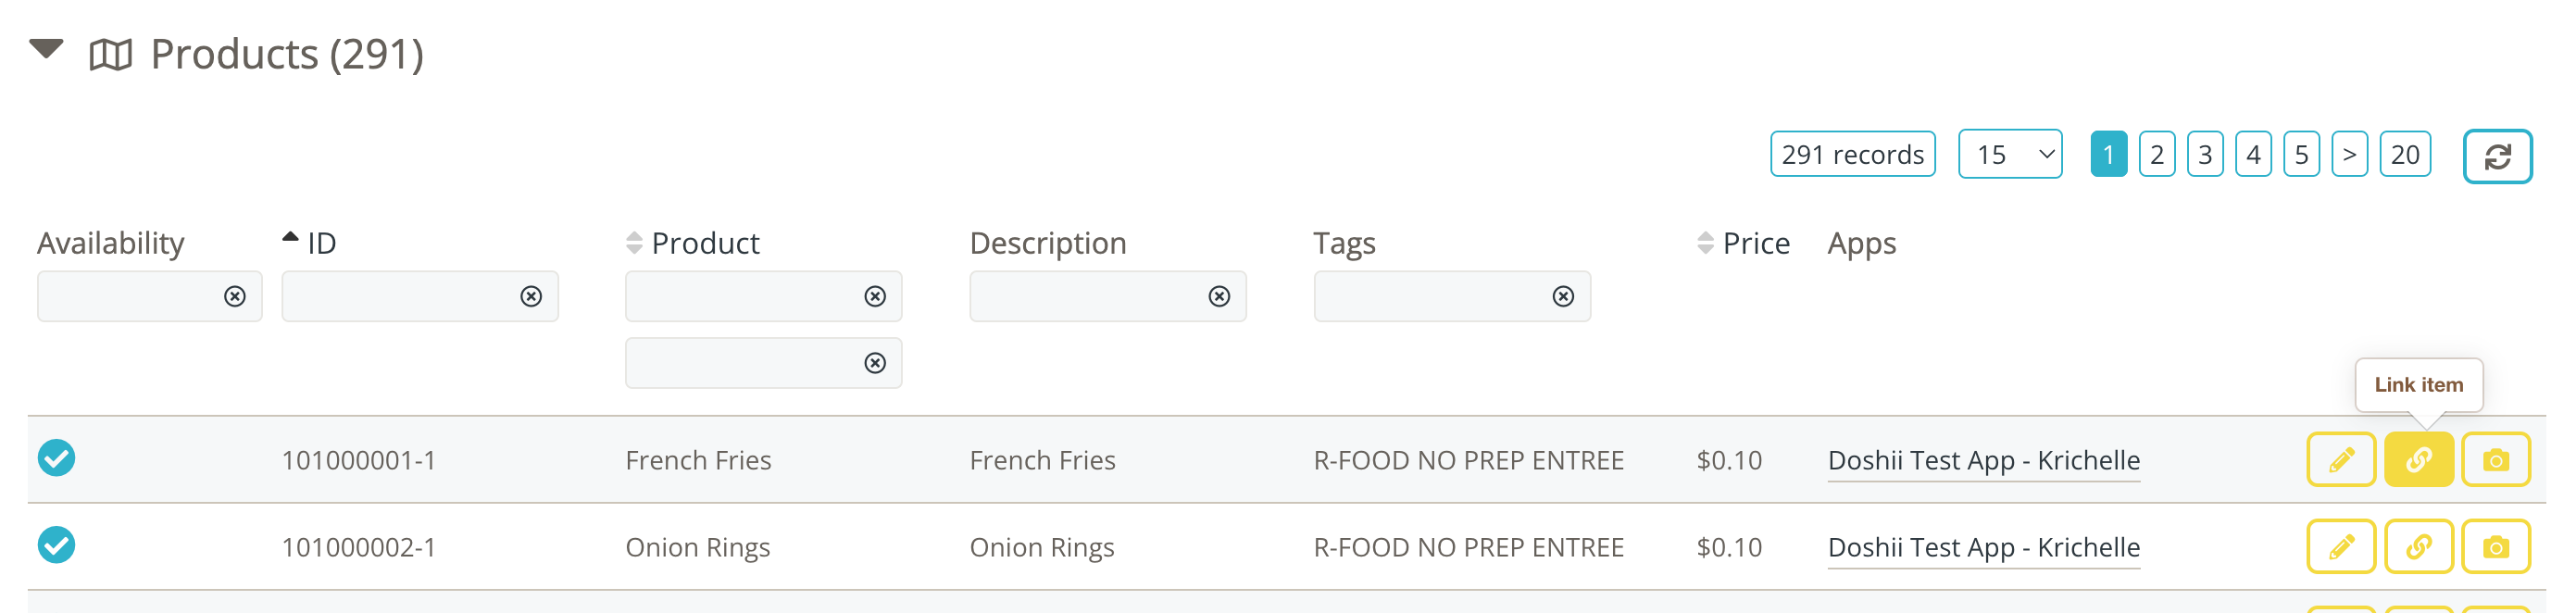
Menu categories are a feature that is exclusive to filtered menus. Filtered menus allow merchants and apps to select specific items they want to display on any individual app. Complete this step to link items to your filtered menu.
a) Navigate to the selected venue page in the dashboard
b) Click the menu icon at the top right of the screen

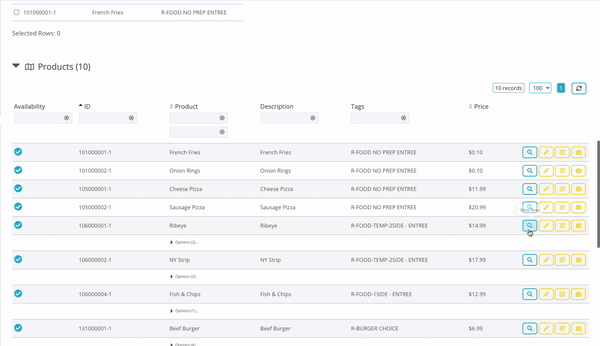
c) Scroll down to the products listed in your menu and click the link item icon next to the product you want to add to your filtered menu
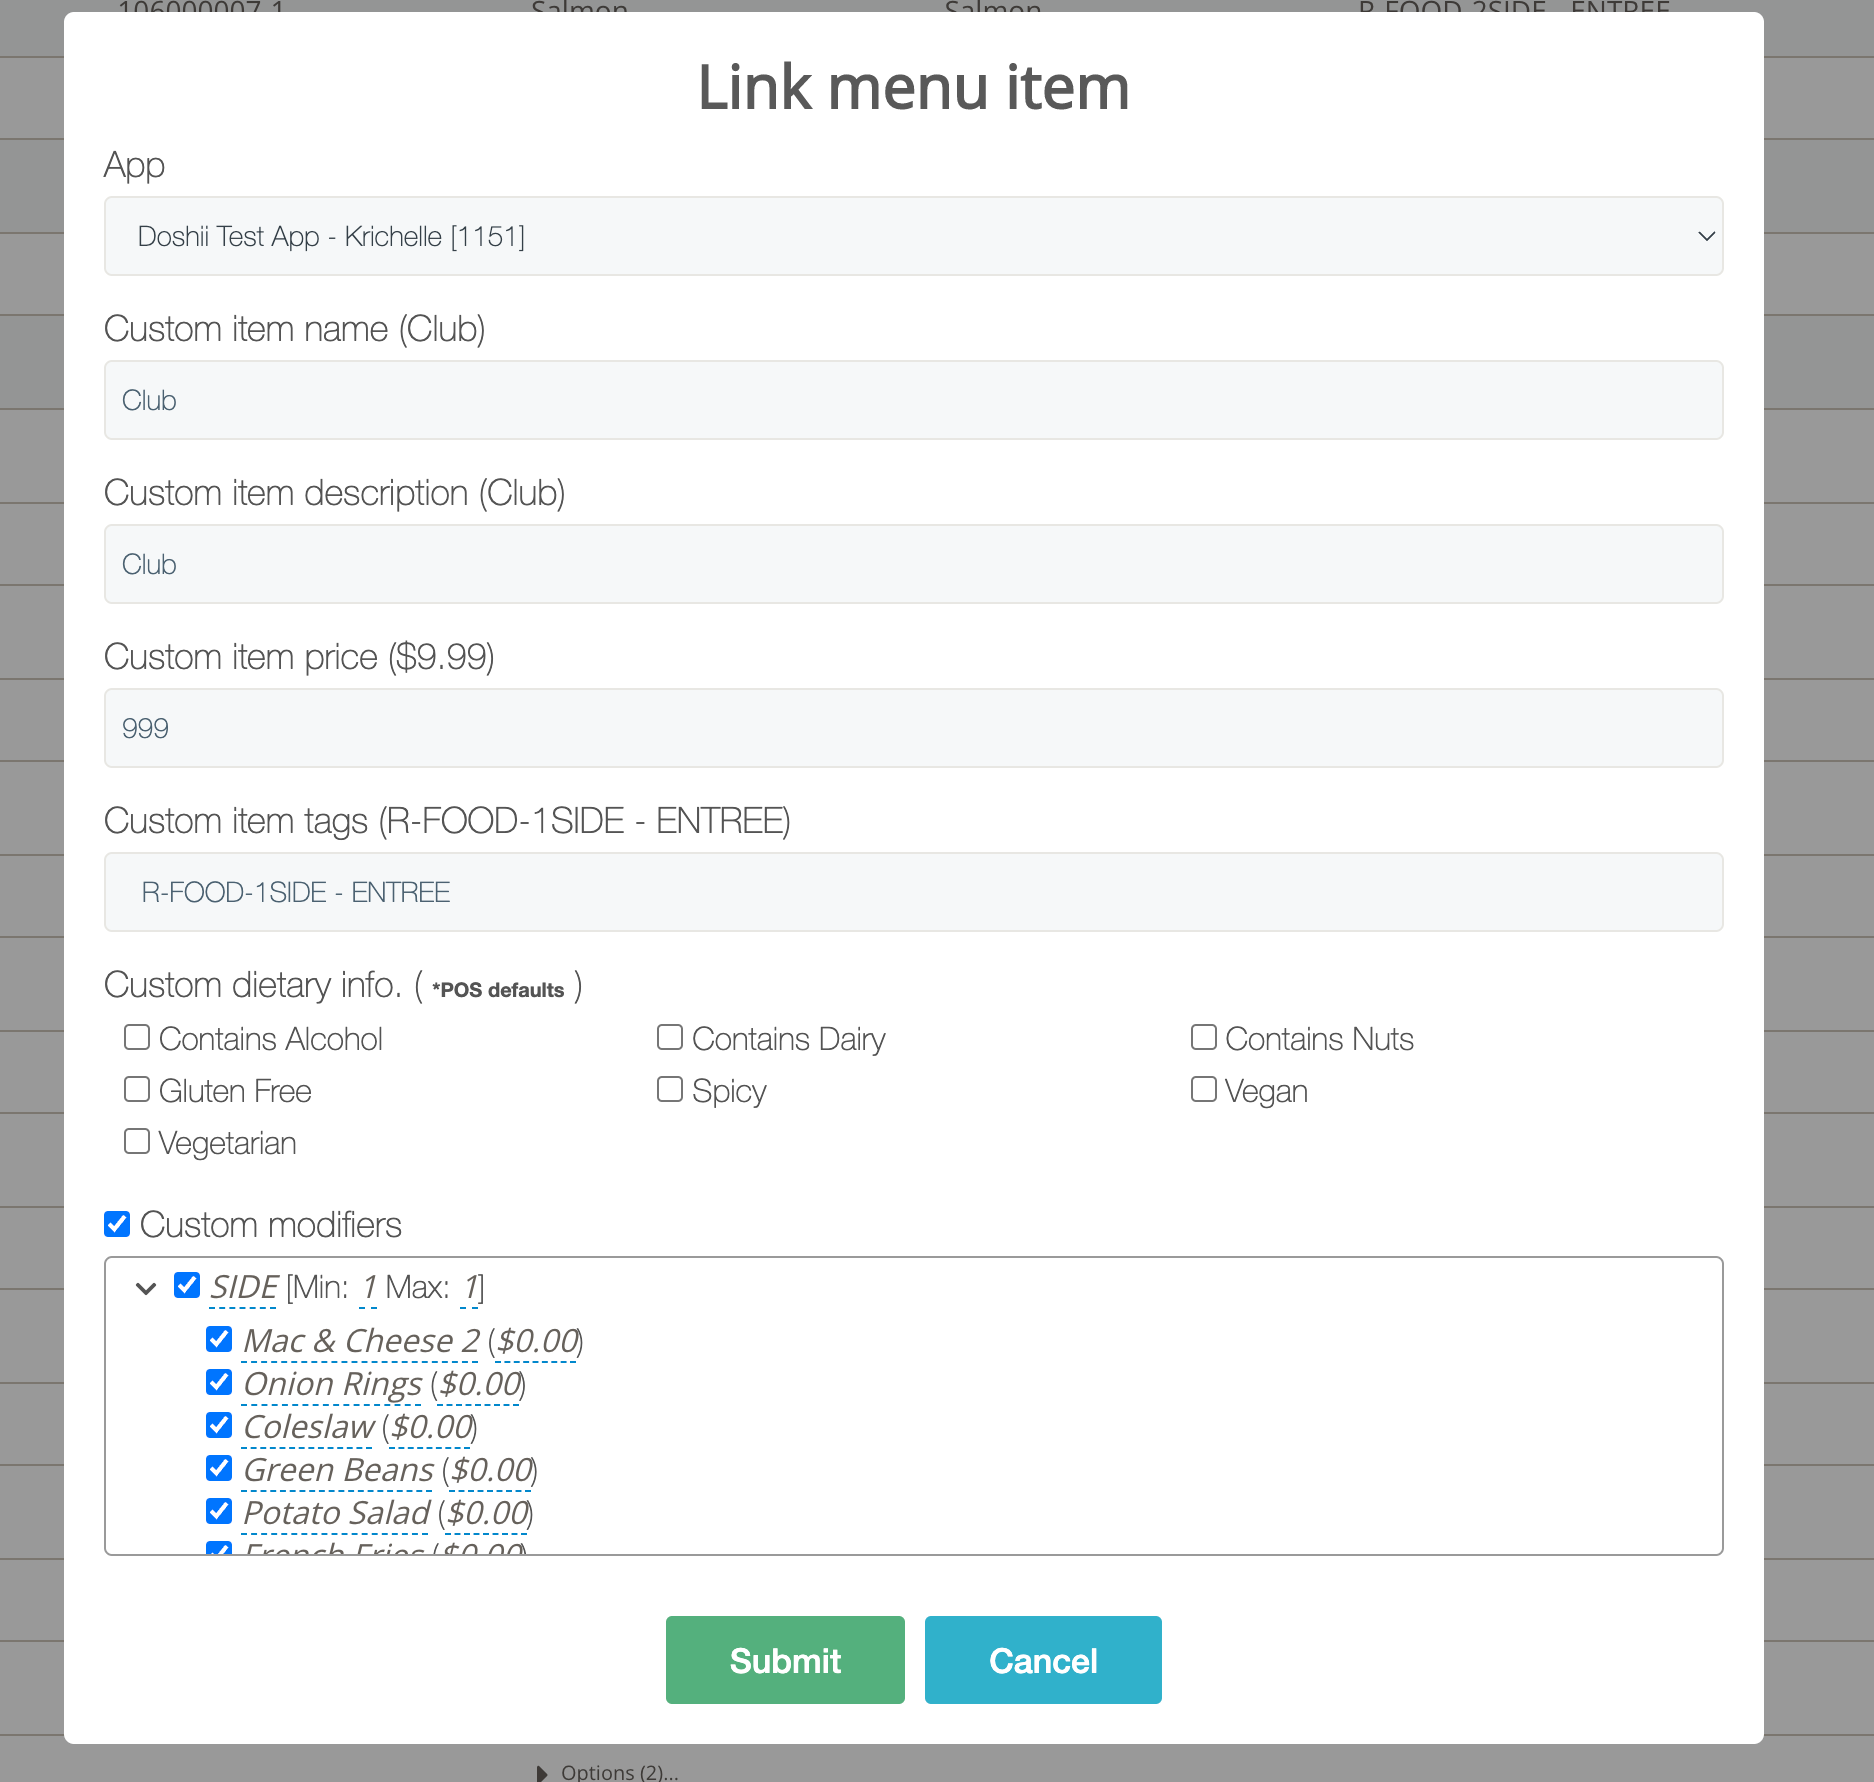
d) Configure and link the item to the app you would like it to apply to and select any modifiers to be added to the item.
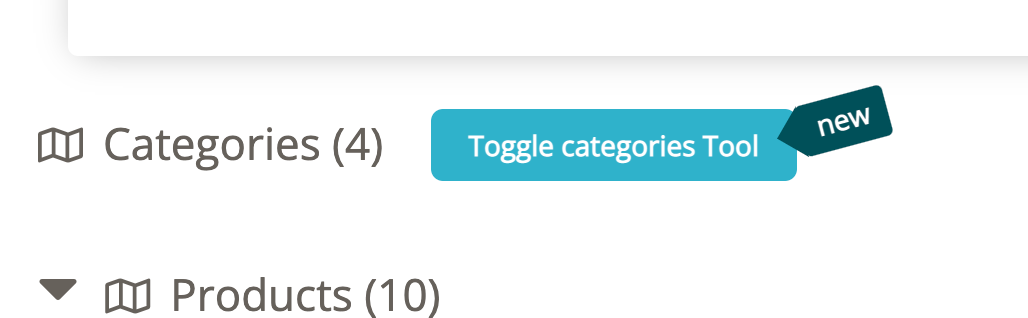
3. Navigate to filtered menu and toggle categories tool
a) Once you’ve added all the items to the selected app, navigate to your filtered menu using the view as button at the top of the page.

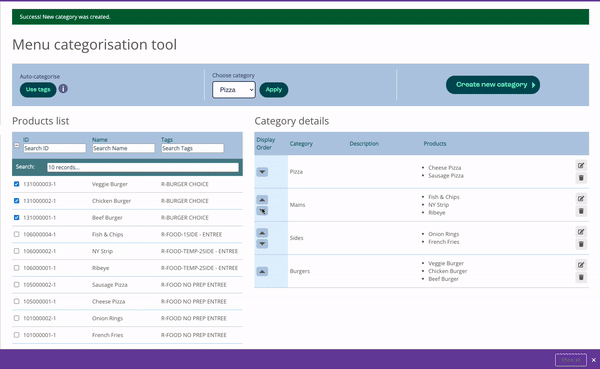
4. Create new categories
a) A list of products that apply to your filtered menu will be displayed. Select the items you want to add to a category and click the ‘Create New Category’ button
b) Add a name for the category and a description (optional)
c) The categories with their relevant items will display on the right of the screen.
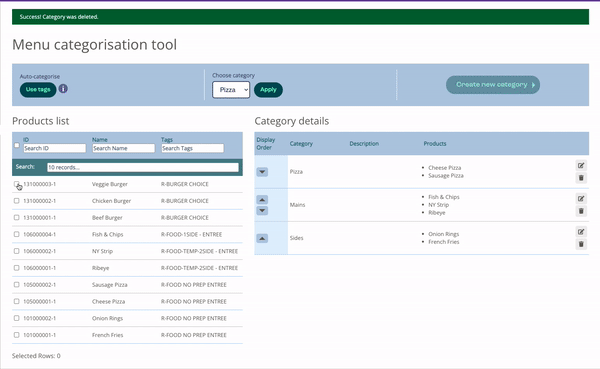
5. Rearranging categories
You can use the arrows on the left to update the order of the categories displayed on the app. This will trigger the app_menu_category_updated event.
You can also view the order of the categories and items using the ‘Check API’ icon at the top of the screen.
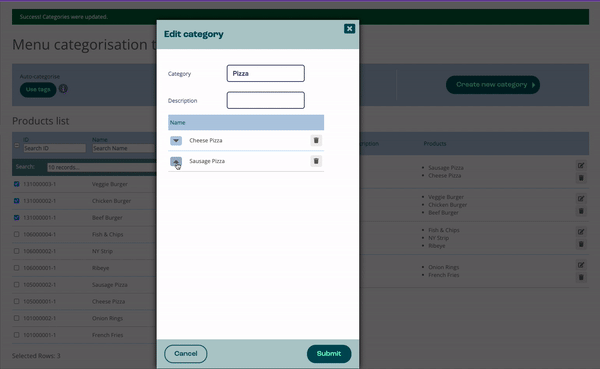
6. Rearranging items in a category
To rearrange items within a category, select the pencil icon next to the category. You can rearrange the items within the category using the arrows on the left. This will trigger the app_menu_category_updated event.
7. Rearranging modifiers in an item
a) To rearrange the modifiers in the item, scroll down to your product list within the filtered menu.
b) Select ‘Update linked item’
c) Using the arrows on the left, update the order of the modifiers listed for that item.
d) This will trigger an app_menu_item_updated event.
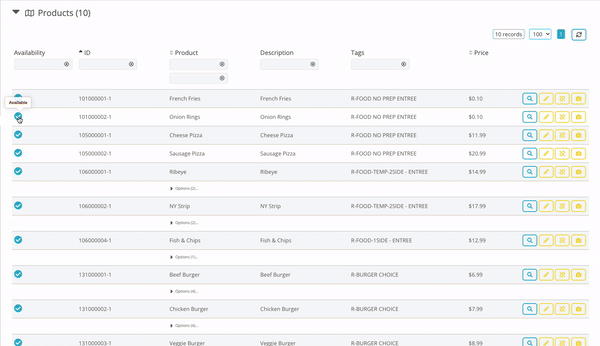
8. Marking an item as unavailable
To mark an item as unavailable, click the checkmark on the left of the product. This will trigger an app_menu_item_updated event.